Monday, February 12, 2018

My Monday Mistake - the Pinwheel Problem..

Good Monday afternoon!

Confessions of a quilter....

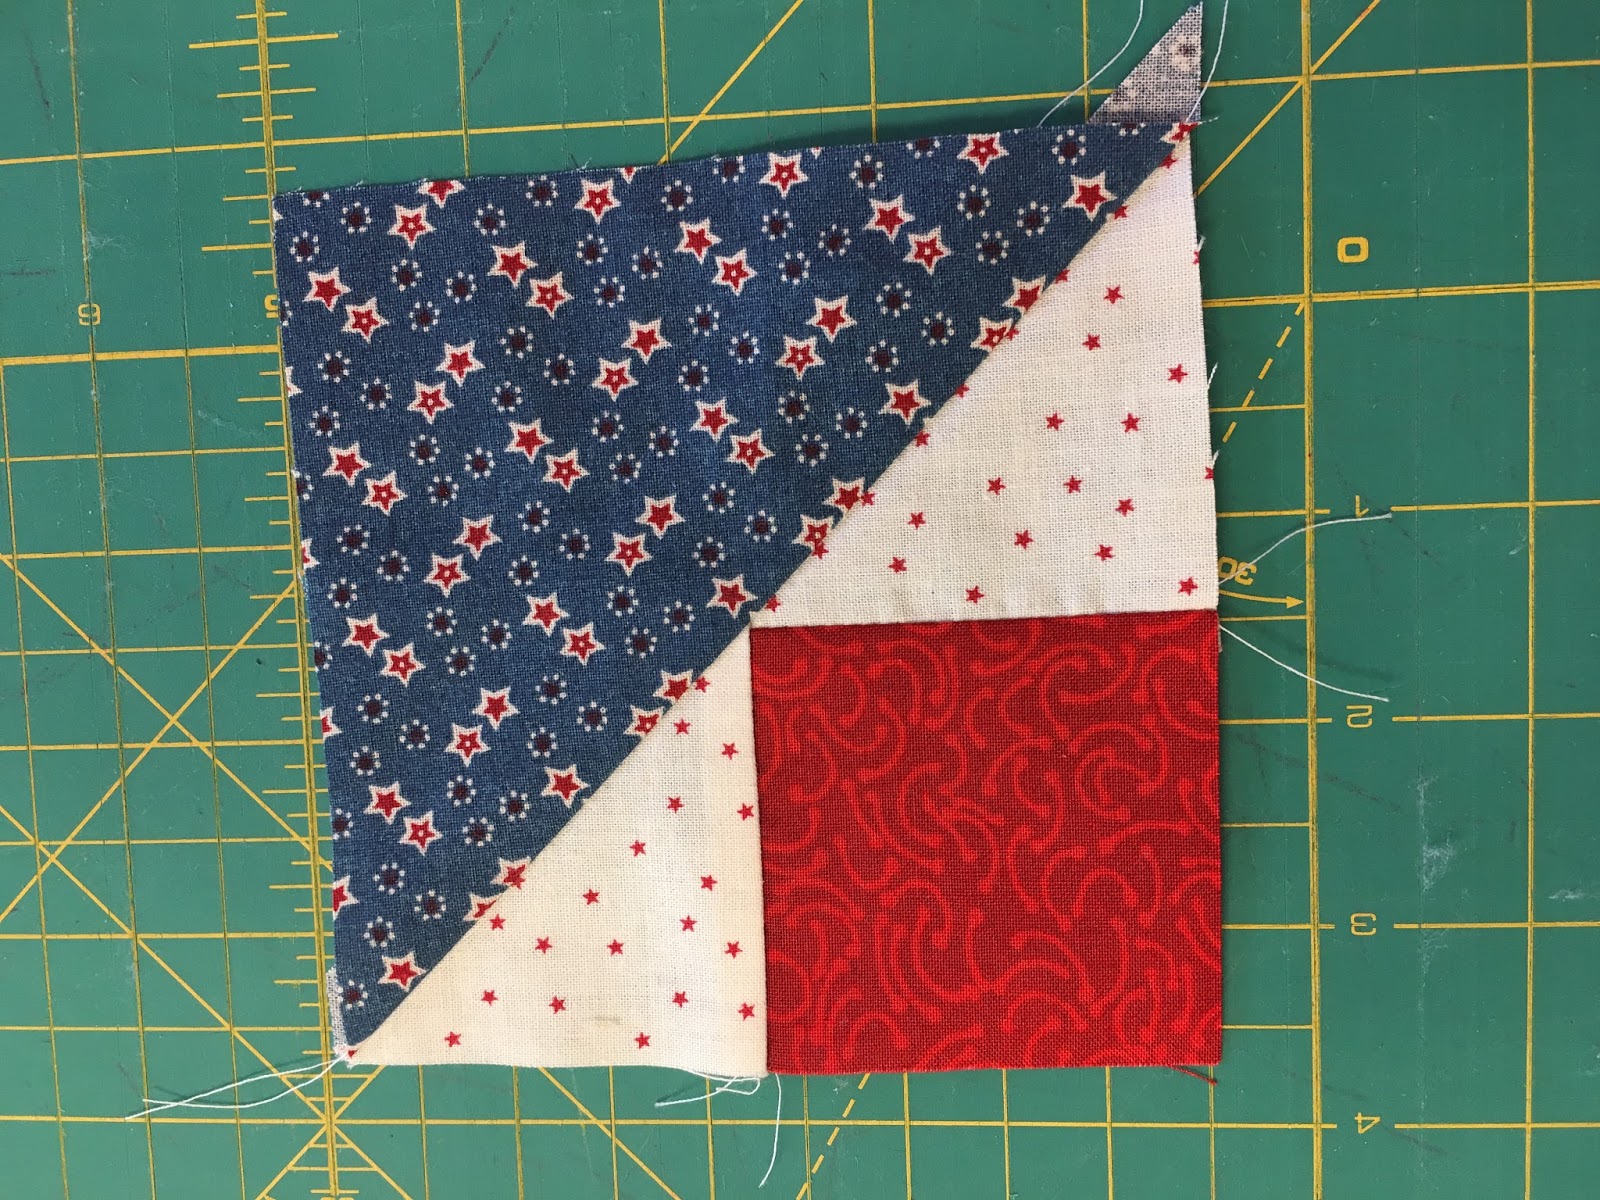
I am sharing a common mistake that is made when making a pinwheel block - of which I have made many but somehow continue to do! Yikes!  (in the pic below I had corrected my error)


I am working on a baby quilt and made a bunch of the blocks and was ready to piece together the rows when I noticed that a few of the blocks had "issues" when butted up against each other.
See pic below...


That just should not be!  

The pic below shows the 2 different configurations that are typically done when piecing a pinwheel block.  So the important thing to do is to make sure you're doing them all the same as you piece them...(which I thought I was doing, by the way - but there were 3 blocks I pieced wrong and had to rip out & resew.  
It's not the end of the world, but who wants to have to rip & resew?  Not me!  I want to get the thing pieced and finished so I can move on to another project!
There always one waiting in the wings...  :)


So have a happy Monday and consider yourself warned...

Quote for the Day:  "Monday, Funday - Live, Laugh, Love!!

May your day and week be filled with blessings!
~Mary Lou

Tuesday, February 6, 2018

Fun, New Quilt Block Tutorial!


Good morning!  Today I'm going to show you how to make the block that is used in this lap quilt. 
This is the block and I think it's a rather clever method that was used. 

First of all, I want to give proper credit to the source I found it in.  

This book below is one I bought many years ago when I worked at a quilt shop.  It's still available on Amazon and it's a wonderful source for using up all those scraps we tend to collect! 
There are directions for 18 quilts plus other practical instructions and ideas.


Here we go:  Finished Block size: 4"

For each block you will cut 2  - 2 1/2" x 3 1/2" rectangles of a light fabric and 2 - 2 1/2" squares of a dark fabric.  Sew them together as above and then stitch the 2 sections together.

Clip the seam allowance in the center so that you can press  the seams away from the squares in opposite directions as shown above.
Now cut a 4 1/2" square of template material (I used thin cardboard that I always keep on hand for templates) Now cut it in half diagonally - as below.

Place the template on the WRONG side of the pieced unit with the corner of the template matching the OUTER corner of each square (you want the red square covered by the template). 
Draw a diagonal line along the long edge of the template and do the same with the opposite corner.

Next cut a - 4 1/2" x 5 1/2" rectangle and place it RIGHT SIDES TOGETHER against the pieced rectangle you just assembled.  Stitch on both of the DRAWN LINES.  Cut between them, creating 2 blocks as shown below.
Perfect points every time! I love it! 


Have fun arranging them in different patterns!
Here are some amounts of blocks for different sizes:

Crib: Dark fabrics           
96 - 2 1/2"  squares
48 -  4 1/2" x 5 1/2" rectangles
Light fabrics:
96 - 2 1/2" x 3 1/2" rectangles

Lap: Dark fabrics
160 - 2 1/2"  squares
80  -  4 1/2" x 5 1/2" rectangles
Light fabrics
160 - 2 1/2" x 3 1/2" rectangles

Twin:
Dark fabrics
280 - 2 1/2" squares
140 - 4 1/2" x 5 1/2" rectangles
Light fabrics
280 - 2 1/2" x 3 1/2" rectangles

Quote of the Day: "Fabric is so addictive it should be a controlled substance."  :) Sew on! Smile on!


Cinnamon Bundt Cake Recipe

     T'was the day before Thanksgiving and all through the house, there are aromas of food that would hurry a mouse! The turkey wa...