Thursday, March 15, 2018

String Piecing Day!

Good Thursday evening!

I decided to make another string piecing wall-hanging because they are so pretty, so quick and so easy!  This is unfinished but I wanted you to get an idea of what it will look like.  I still need to machine quilt it and I will use free motion quilting to do so.

String piecing is simply piecing together scraps of different width-sized strips of fabric.
It's a fabulous way of using up scraps!
And we all have strips leftover from adding thin borders, etc. If your strips are too wide, just cut them in half.  
I also like to make my cuts a bit "wonky" for fun!

So first you need to decide what size block you want and I made these 6 1/2" finished squares. 
I keep a box of scraps from which to pull from and then just randomly sew them together. 


I don't try to sew exact 6 1/2" strips - I approximate and make sure they are longer than that slightly, and if they are too long, I cut them as I match them up to sew.  When the width is a bit larger than 
6 1/2" I am finished with that block.  I strip piece as well which helps the process speed along. 

When I've got as many squares finished as I want for the project (this one has 12) I square them up using my handy 6 1/2" square ruler.

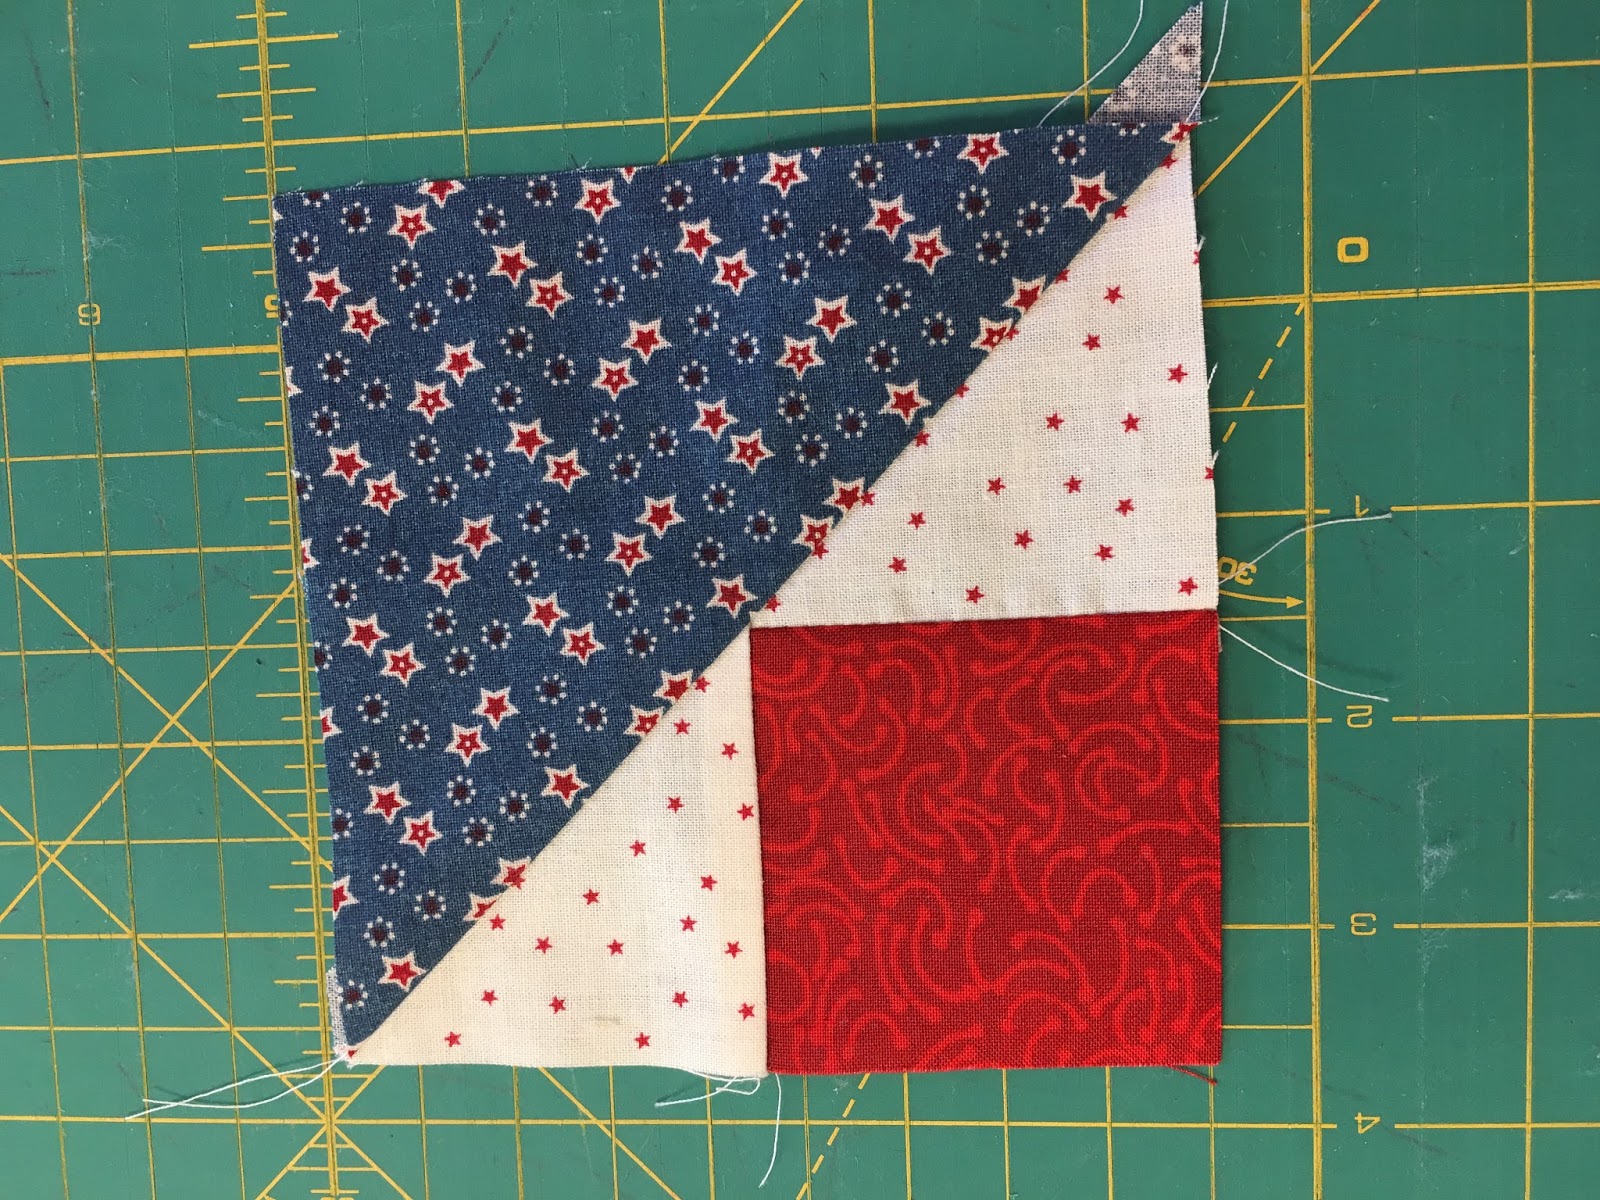
For this particular project I also made these quarter square triangle blocks to set them with for some interest and to break up all the busyness.


I hope you get to play around with string piecing soon!  It's therapeutic!
So get busy string piecing and have fun being creative!

Quote of the Day: "To quilt is human; To finish is divine!"

Have a blessed and stringy, strippy weekend! 
~Mary Lou

Monday, February 12, 2018

My Monday Mistake - the Pinwheel Problem..

Good Monday afternoon!

Confessions of a quilter....

I am sharing a common mistake that is made when making a pinwheel block - of which I have made many but somehow continue to do! Yikes!  (in the pic below I had corrected my error)


I am working on a baby quilt and made a bunch of the blocks and was ready to piece together the rows when I noticed that a few of the blocks had "issues" when butted up against each other.
See pic below...


That just should not be!  

The pic below shows the 2 different configurations that are typically done when piecing a pinwheel block.  So the important thing to do is to make sure you're doing them all the same as you piece them...(which I thought I was doing, by the way - but there were 3 blocks I pieced wrong and had to rip out & resew.  
It's not the end of the world, but who wants to have to rip & resew?  Not me!  I want to get the thing pieced and finished so I can move on to another project!
There always one waiting in the wings...  :)


So have a happy Monday and consider yourself warned...

Quote for the Day:  "Monday, Funday - Live, Laugh, Love!!

May your day and week be filled with blessings!
~Mary Lou

Tuesday, February 6, 2018

Fun, New Quilt Block Tutorial!


Good morning!  Today I'm going to show you how to make the block that is used in this lap quilt. 
This is the block and I think it's a rather clever method that was used. 

First of all, I want to give proper credit to the source I found it in.  

This book below is one I bought many years ago when I worked at a quilt shop.  It's still available on Amazon and it's a wonderful source for using up all those scraps we tend to collect! 
There are directions for 18 quilts plus other practical instructions and ideas.


Here we go:  Finished Block size: 4"

For each block you will cut 2  - 2 1/2" x 3 1/2" rectangles of a light fabric and 2 - 2 1/2" squares of a dark fabric.  Sew them together as above and then stitch the 2 sections together.

Clip the seam allowance in the center so that you can press  the seams away from the squares in opposite directions as shown above.
Now cut a 4 1/2" square of template material (I used thin cardboard that I always keep on hand for templates) Now cut it in half diagonally - as below.

Place the template on the WRONG side of the pieced unit with the corner of the template matching the OUTER corner of each square (you want the red square covered by the template). 
Draw a diagonal line along the long edge of the template and do the same with the opposite corner.

Next cut a - 4 1/2" x 5 1/2" rectangle and place it RIGHT SIDES TOGETHER against the pieced rectangle you just assembled.  Stitch on both of the DRAWN LINES.  Cut between them, creating 2 blocks as shown below.
Perfect points every time! I love it! 


Have fun arranging them in different patterns!
Here are some amounts of blocks for different sizes:

Crib: Dark fabrics           
96 - 2 1/2"  squares
48 -  4 1/2" x 5 1/2" rectangles
Light fabrics:
96 - 2 1/2" x 3 1/2" rectangles

Lap: Dark fabrics
160 - 2 1/2"  squares
80  -  4 1/2" x 5 1/2" rectangles
Light fabrics
160 - 2 1/2" x 3 1/2" rectangles

Twin:
Dark fabrics
280 - 2 1/2" squares
140 - 4 1/2" x 5 1/2" rectangles
Light fabrics
280 - 2 1/2" x 3 1/2" rectangles

Quote of the Day: "Fabric is so addictive it should be a controlled substance."  :) Sew on! Smile on!


Sunday, January 28, 2018


Impressive, isn't it?

This beauty is called an "oven pancake". I ordered this at a fancy breakfast restaurant once and fell in love with it!  Then I found a recipe for it in my cookbook and tried it...sooo easy!  Couldn't believe it! And it is much, much less expensive than the restaurant charged!


This is the cookbook I found it in.  It's called "Puffed Oven Pancake".  It's not thick like a typical pancake, though.  The ratio of egg to flour is heavy on the egg side, so it's almost more like a crepe - but puffy.  And though it can be served with syrup it's probably better with a sauce or preserves or the way we were served it at the restaurant - which I absolutely loved - was with lemon squeezed over the top and then sprinkled generously with powdered sugar.  The plus side of that way is less calories! Yay!
I'm always looking for ways to cut down on calories without giving up too much in taste. ;)

I'll include the apple/raisin sauce recipe at the bottom.

Here's the recipe:

2 tablespoons butter
3 eggs
1/2 cup all-purpose flour
1/2 cup milk
1/4 tsp salt

Preheat oven to 400 degrees.
Place butter in oven-proof skillet for 3-5 minutes - till butter is melted..I used an iron skillet.
In a bowl beat eggs well till combined.  Add flour, milk, and salt.  Beat till smooth.  Immediately pour into the hot skillet and bake for approximately 25 minutes or till puffed and browned.

Meanwhile, prepare the Apple-Raisin sauce. Sprinkle pancake with powdered sugar and cut into wedges. Serve with sauce. Serves approx. 6

Apple-Raisin Sauce:
In a skillet combine 2 large cooking apples, peeled, cored, and thinly sliced; 3/4 cup apple juice or water, 1/3 cup raisins; 2 tablespoons sugar, and 1/4 tsp ground cinnamon.  Simmer, covered, till apples are just tender. Stir together 2 tablespoons cornstarch and 2 tablespoons cold water.  Add to apple mixture.  Cook and stir till thickened and bubbly.  Cook and stir 2 minutes more. Stir in 1 tsp butter.  Keep warm. Makes 2 cups.

Enjoy!

Quote of the day:
I think careful cooking is love, don't you? The loveliest thing you can cook for someone who's close to you is about as nice a valentine as you can give." ~ Julia Child

Cinnamon Bundt Cake Recipe

     T'was the day before Thanksgiving and all through the house, there are aromas of food that would hurry a mouse! The turkey wa...